Browsing Category

Lifestyle

Composting for Beginners
Healthy Living, Lifestyle

Composting For Beginners

Today let’s talk “trash”! Or composting more specifically. I am not sure what sparked my interest in composting recently. Maybe it is my love of gardening or trying to live a healthier lifestyle. As I began to start this new endeavor I just grabbed a glass jar, threw it under my sink and started to throw in a bunch of kitchen left overs, peelings and some paper garbage. Well soon enough I realized this was NOT the way to do things! I had scary gross mold growing out of my glass container! Ugh! Mind you it is important to have mold and the best kind is a dusting of mold. What I had was furry and that means it is too wet. Needless to say, I threw on a mask and dumped it out in the field! I then went on a search of the do’s and don’ts to make my compost successful! Here is what I found:

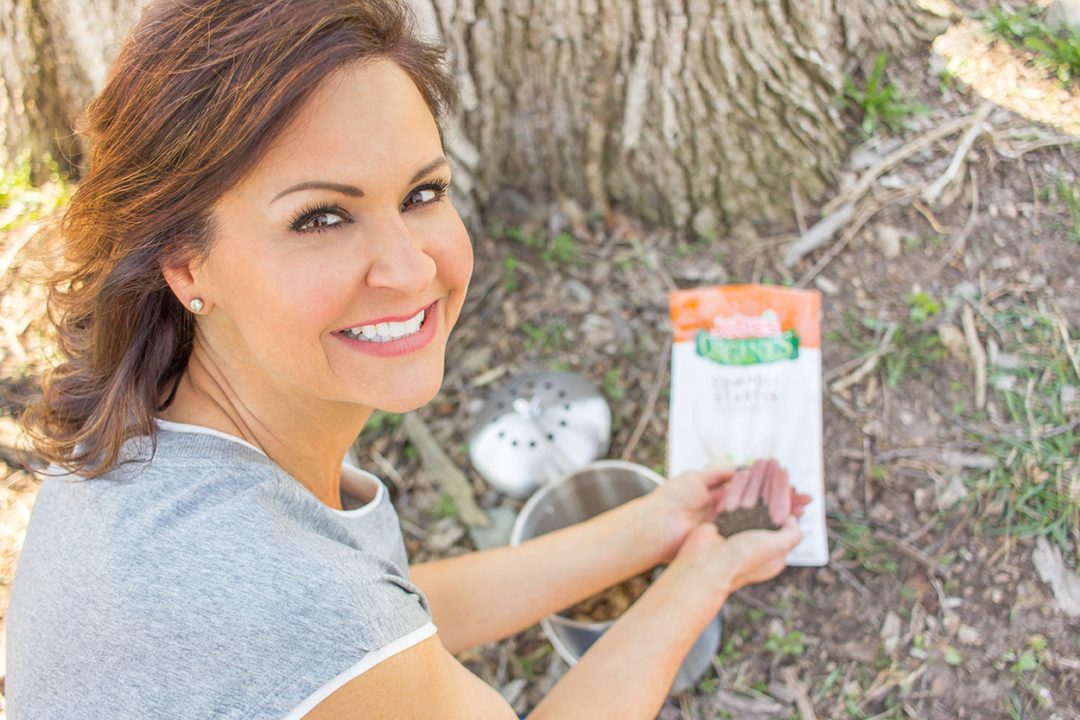
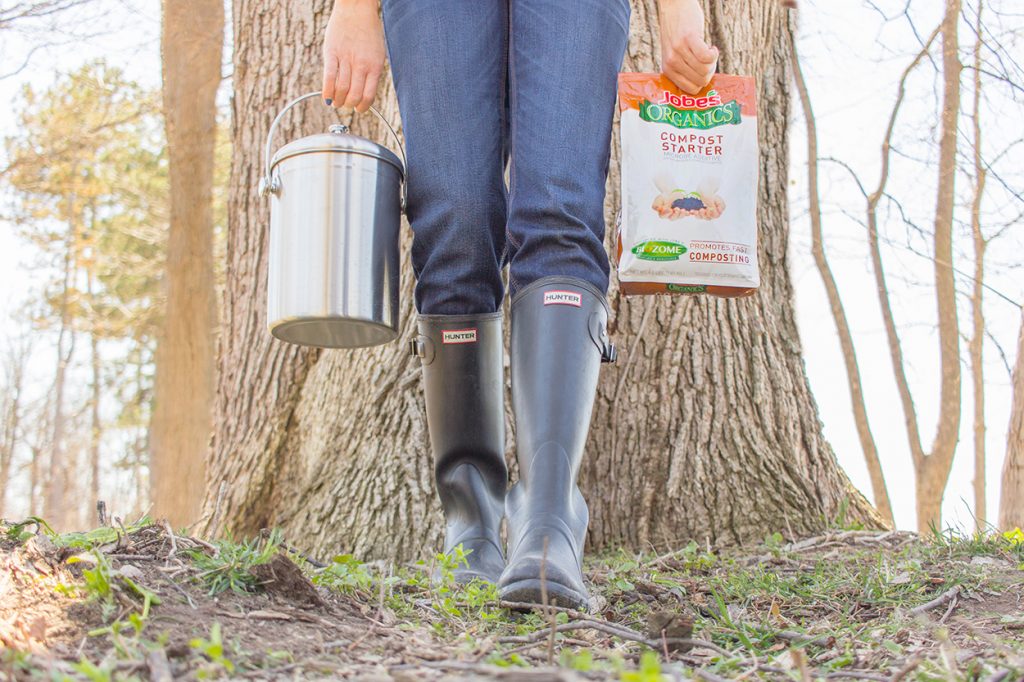
1.) Selecting your composting box. The type of container you use will depend on a couple of factors. First consider how often you plan to dump your counter top compost into a larger compost bin. A plastic bin is fine if you empty it more often; however, smells will escape more with a plastic bin and you may not want that in your kitchen. Most counter top varieties are about 1 gallon and won’t take up a ton of space. They can come in different sizes and colors. I like the stainless steel one that I got from Amazon. I keep mine under the sink but there are some that can mount on your cabinet door. Just make sure it has a secure lid and will keep out the fruit flies.

2.) What to compost, Brown vs. Green. Brown items are dry leaves, wood chips, shredded paper, saw dust (make sure it is not chemically treated), straw hay and cardboard, toilet paper rolls. Green items are fruit and veggie scraps, coffee grounds and tea bags, feathers, egg shells, grass and plant clippings. Keeping a variety of these is important. If your compost is a little dry make sure to spray it with water every now and then. If it is a little too wet add more dry leaves or shredded paper.

3.) Never add meat, bones, poultry, fish, human and pet waste, whole eggs, or any dairy products to your pile. Adding fatty foods like poultry will slow down the compost process.

4.) It is not necessary but since I am impatient in nature (sorry Fam!) I used Jobe’s Organic Composting Starter.  This is great because it is organic and it speeds up the process of decomposing the material.

5.) If you want to have more compost for a garden I would suggest getting the larger container that I purchased, the Envirocycle or something like it.  It is expensive but it is made of food safe, BPA and rust free, UV and antioxidant protected materials.  I think it is important to go that extra mile since you are trying to help the environment.  If you are not ready to make that type of a purchase I would stick to a spot in the shade away from your home and start with a DIY container.
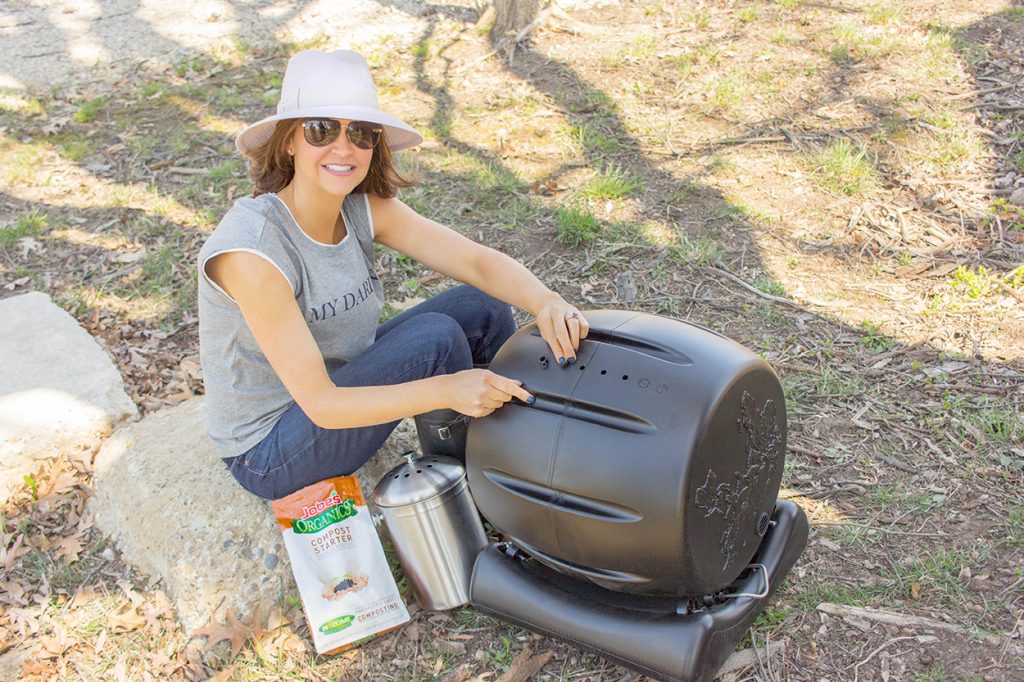
Composting Tumbler

Composting is actually quite simple. It’s fun and great for the environment. If you haven’t tried it I would highly recommend it. I am still learning but it is cool (in a nerdy kind of way) to see your “trash” turn into something the earth and your environment can use.
 

Getting Started with Composting

How to Build a Poke Bowl
Recipes

How To Build A Poke Bowl

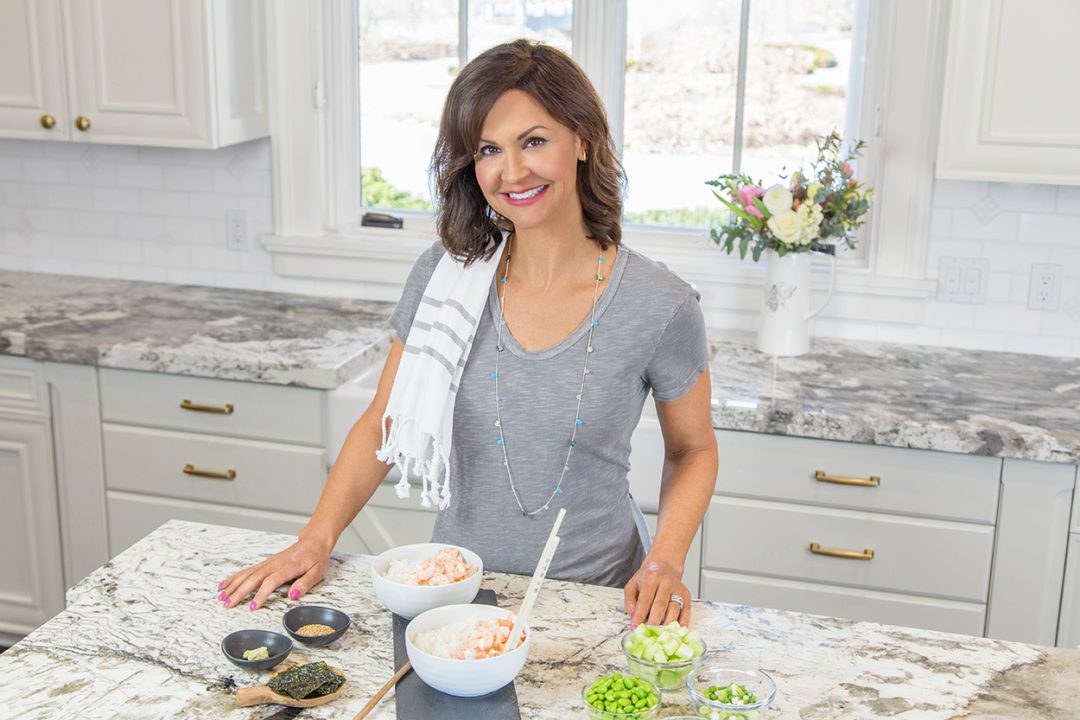
The Poke Bowl is becoming more mainstream and is pronounced “Po-kay”  not “po-key”  or poke you in the eye kind of poke!  LOL!   The origin is Hawaiian and it means to slice or cut.  I always love to learn about different cultures of foods.  The first time I had a Poke bowl was in Vail, Colorado a couple of years ago.  It was amazing!  The traditional way to make them is with fresh raw fish such as tuna or salmon.  However sometimes it is hard to find fresh raw fish in my neck of the woods so I resort to the non-traditional way with a different foundation of other proteins.  I have made a few of my own and I want to share with you how to build a poke bowl and the four main ingredients.

Continue Reading

Mother's Day Shopping Guide
Lifestyle, Style

Mother’s Day Shopping Guide

If you are like me, Mother’s Day can sometimes leave you thinking, “What in the world do I buy my mom?”  I am sharing this Mother’s Day Shopping Guide and hoping it helps you with some ideas and selections.  I love giving gifts but sometimes I get a little stumped. I always like to make sure that I get something they would want for themselves.  Our moms are pretty special ladies.  If you are lucky like I have been, they can be your best friend and cheerleader so I want to make sure the gift is just right!

I have separated this guide into categories such as the gardener, fashionista, the crafter, the hostess and many more specialities to make it a little easier on you.  And shopping for gifts online and get things sent directly to the recipients is so convenient!  I also did a blog post last year about a company I love called PillowGrace, I think any of their products would be great for a Mother’s Day gift.

While your shopping, sit back, listen to some music and drink your favorite beverage.   Make sure to tell your mom or grandma how much you love and appreciate them this Mother’s Day.  In addition, if you are a mother I wish you a wonderful and blessed day!  Motherhood is one of those privileges that can never fully be described but is the best and most rewarding journey we as women will ever take!  Happy Mother’s Day!

Easy Frittata Muffins
Recipes

Easy Frittata Muffins

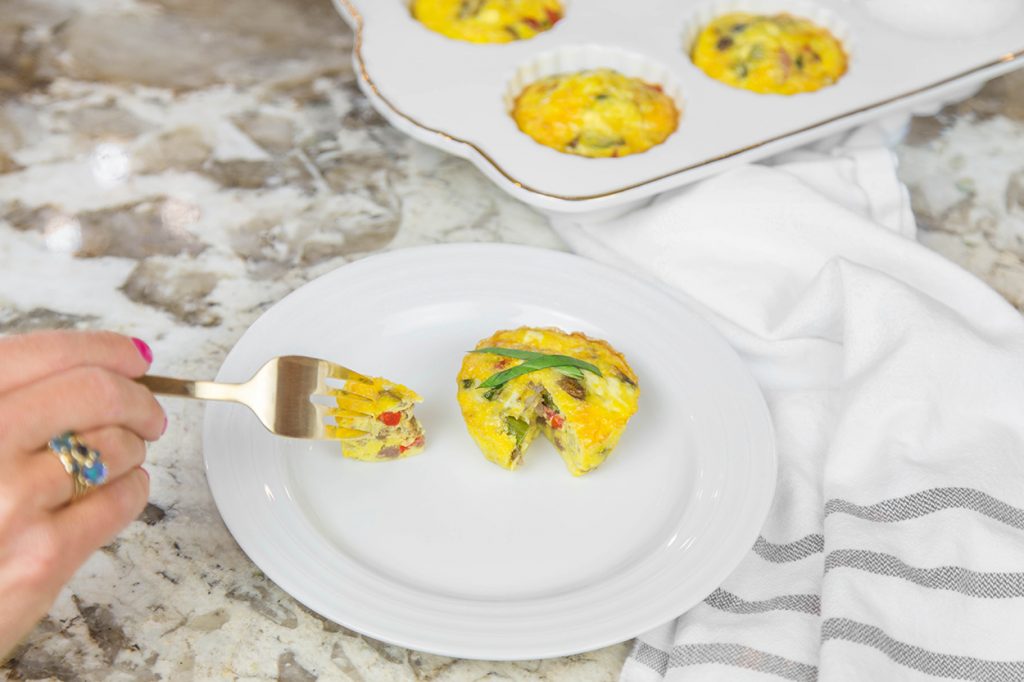
I love having my chickens because I get fresh eggs often. I am one of those people that eats eggs all the time for breakfast! Today I am sharing one of my favorite egg recipes, easy frittata muffins. This easy frittata muffin recipe is great because of the health benefits, efficiency and it’s adjustable to each of your family member’s likes!

My body needs protein so I can sustain throughout my busy mornings, and this egg recipe is perfect for that! I am working hard to eat more protein and fewer carbohydrates. This is a great way to get around it! Portion control is also really important to me. This is such a great recipe because it is not one large frittata, instead it is several small ones. This recipe makes a dozen frittata muffins so I use 2-6 muffin pans for this recipe. My favorite are the ones I purchased from Williams Sonoma last year. I don’t use the paper cups I just grease the pans. You have to grease the pans or it will be a little tricky getting them out and I think it makes for a better frittata to leave the paper cups behind. I recently used this recipe for my Ladies Brunch a few weeks ago. It was the perfect amount of food for my guests considering we had something sweet and some veggies to go along with it.

The problem is I sometimes don’t have the time to make eggs every morning. I love this idea because I can make up these easy frittata muffins ahead of time, put them in the refrigerator and pull one out for lunch or a snack as well as breakfast. The best way to do this is on a day when you have some extra time such as a Sunday afternoon. Make up the recipe, see below, and put in the refrigerator what you do not eat. I eat one to two at a time and they are very filling!

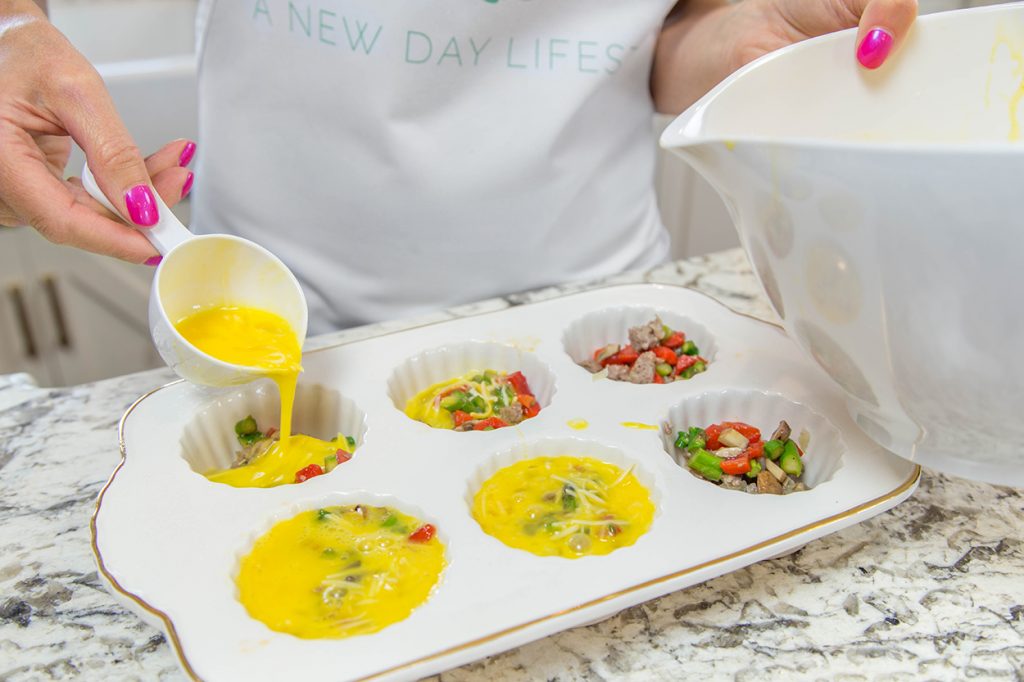
Prepping Frittata Muffin

The best thing about this easy frittata muffin recipe is I can change the ingredients to suit my mood or anyone else in the family. Our family has different tastes so I can make some of these with meat, some meatless and some with or without cheese. This way everyone is happy. Some days I personally like to have a little sausage with my eggs and other days I like to have veggies and cheese. When I had my Ladies Brunch, some of my friends preferred the vegetarian ones while I loved the sausage ones.

I hope you make and enjoy! Mixing it up is my motto so if you try your own variation I’d love to hear all about it!

Plated Easy Frittata Muffin

Easy Frittata Muffins

Ingredients

  • 12 Fresh Eggs
  • 1/2 Cup Roasted Red Peppers
  • 1/2 Cup Mushrooms
  • 1/2 Cup Ground Sausage
  • 1/4 Cup Shredded Parmesan Cheese
  • 1/4 Cup Shredded Cheddar Cheese

Instructions

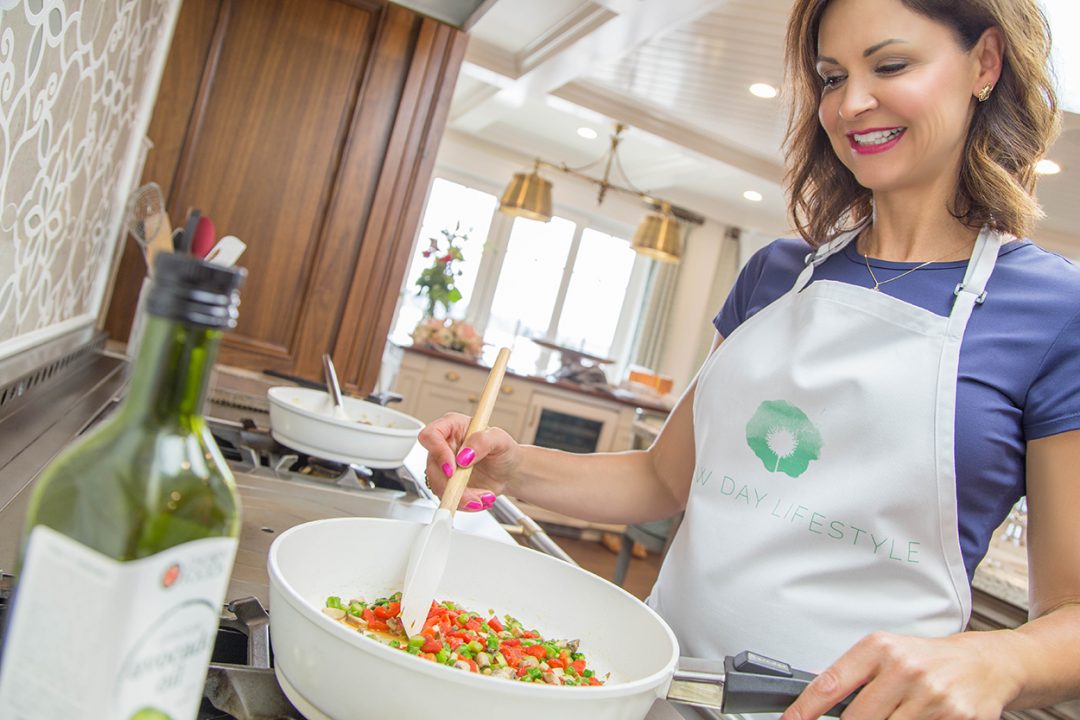
  1. Cook veggies in skillet until done.

  2. Add sausage in skillet and cook completely.

  3. Place veggies and sausage mixture in the bottom of a sprayed muffin pan.

  4. Mix eggs and cheese together, add desired salt and pepper.

  5. Pour egg and cheese mixture over veggie and sausage mixture, fill muffin pan 3/4 full.

  6. Bake for 20-25 minutes at 350 degrees.

Gluten Free Almond Chicken Recipe
Recipes

Gluten Free Almond Chicken Recipe

I used to eat a gluten and dairy free diet for years.  At that time, I did it for medical reasons and then in the last five years I have gotten away from it.  I just started up again and it is actually super easy and I feel so much better.  It seems I have better digestion and lose a few pounds when I eat gluten free.  My body doesn’t require complete elimination of gluten to feel good,  just the obvious such as breads, cereals & crackers.  I pulled out this old recipe I used to make and wanted to share it with you.

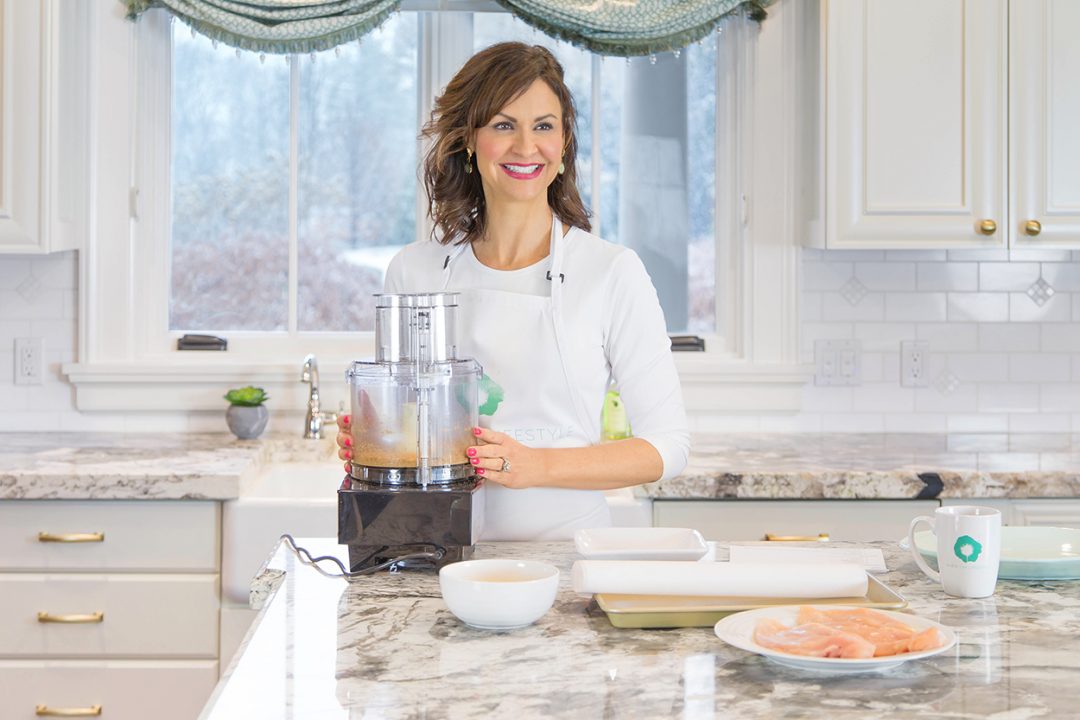
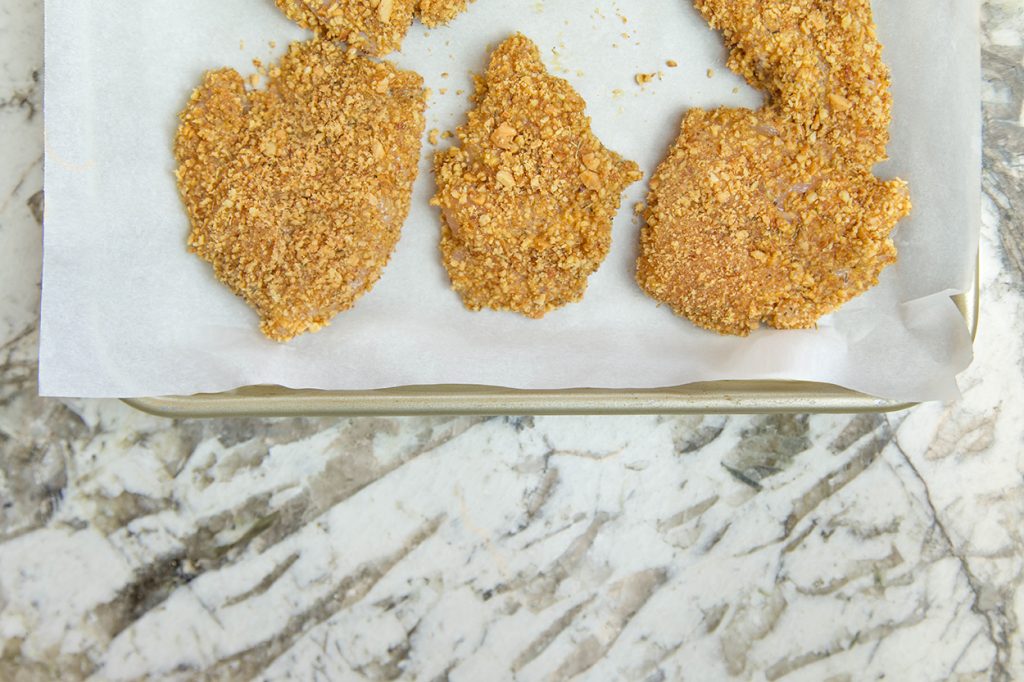
I used my food processor to chop up the almonds, you can one at Sur La Table.  If you use a Vitamix you may end up with mush or almond butter.  Believe me, I have tried this approach and it doesn’t work!  lol!  If you don’t have a food processor, it’s no problem.  Chopping finely is just as easy and you don’t have to clean your food processor afterwards.  I also like to make smaller pieces like chicken strips.  They make for easy dipping in sauces such as a honey mustard or BBQ sauce.

Almond Chicken Recipe Prep

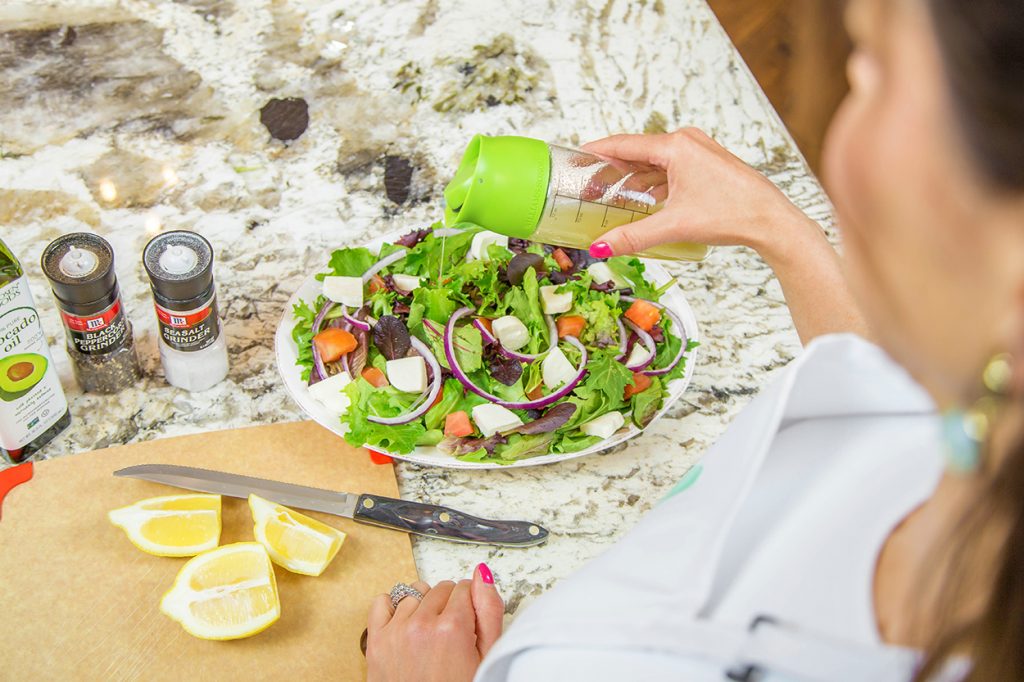
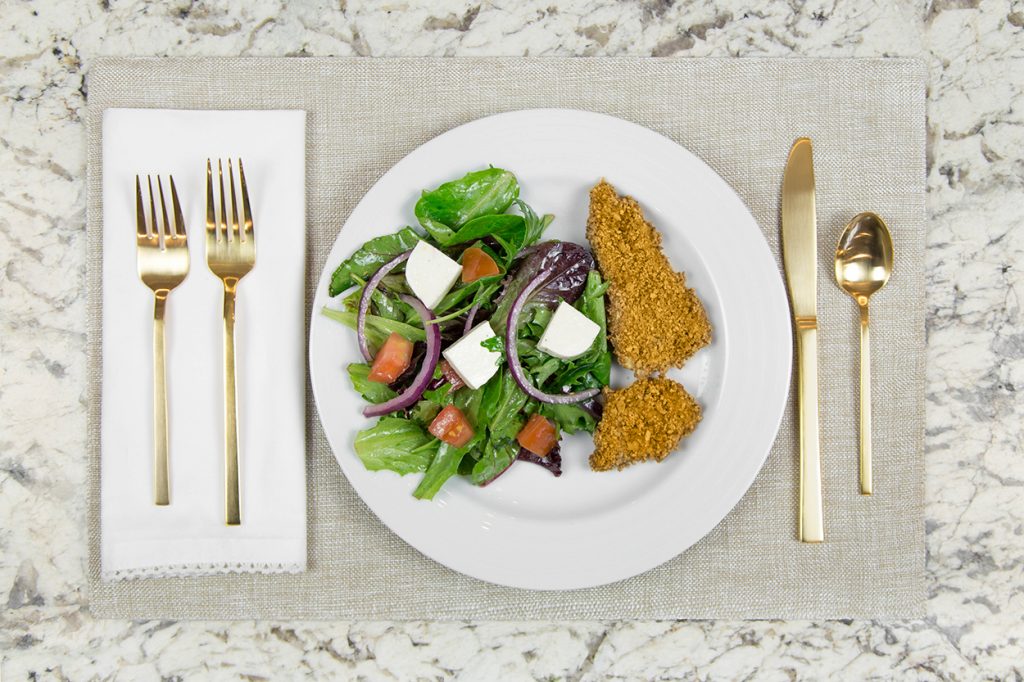
I made my own salad dressing.  Anyone can do it.  Just mix a 3:1 ratio of avocado oil and lemon juice and add salt and pepper.  Shake well and pour.  This salad that I made has mixed greens, tomatoes, mozzarella cheese and red onions.  It is one of my favorites.

Homemade Salad Dressing

It is super simple (that is a huge priority) and tastes really good!  Give it a try and I would love to know what you think.

Plated Almond Chicken Recipe


Almond Chicken

This is a gluten-free version.  If you would like to use gluten, you can substitute 1/4 cup of the almonds with bread crumbs to add a little extra breading to the chicken.

Ingredients

  • 1 cup Almonds, sliced
  • 1 teaspoon Garlic powder
  • 1/2 teaspoon Paprika
  • 1/2 teaspoon Oregano, dried
  • 1/2 teaspoon Thyme, dried
  • 1/2 teaspoon Salt
  • 1 Egg, beaten
  • 4 small Chicken breast

Instructions

  1. Preheat oven to 375 degrees F.


  2. Combine first 5 ingredients in a food processor.  Pulse until the almonds are chopped fairly small.

  3. Pour the almond mixture into a shallow bowl.

  4. Pour the beaten egg into a shallow bowl.

  5. Salt the front and back of each piece of chicken.

  6. Working with one piece at a time, dip the chicken in the egg and then coat with the almond mixture making sure to pat the mixture into the chicken.

  7. Place the chicken on a non-stick baking sheet or one lined with parchment paper.

  8. Drizzle or spray avocado oil over top of chicken to help make crispy.

  9. Bake for 22-25 minutes and remove from oven.

  10. Let rest for 3 minutes to let juices redistribute.

  11. Serve hot.