Browsing Category

Recipes

Fresh Spring Spritzers
Recipes

Fresh Spring Spritzers

I recently became a member of Club Chandon.  Chandon is a sparkling wine company from California. We were introduced to Chandon when my husband and I visited their winery on our honeymoon.  I will have to share that experience at another time.  Today I am sharing some of my new found fresh spring spritzers.

The first one is the Chandon Citrus Blossom.  This cocktail is perfectly balanced, not too sour or too sweet!   It only takes a few ingredients to make and it is very refreshing.

I had some friends over recently for a game night. I decided to make the Chandon Citrus Blossom and they loved it!  They said it was delicious,very smooth and not too acidic.  One of the ingredients is Elderflower Liqueur.  I was able to find this at my local wine and cheese shop.  It has a wonderful aroma and exceptional flavor!

Citrus Blossom

Serves 1

1/2 ounce Belvedere Vodka

1/3 ounce Elderflower Liqueur

1/2 ounce fresh Lemon Juice

Dash of Simple Syrup

3 ounces Chandon Brut Classic

First, add the Belvedere Vodka, lemon juice, elderflower liqueur and simple syrup in a shaker filled with ice.  Shake and strain into a coup glass.  Next, add the Chandon Brut, garnish with the lemon zest and serve.

The second cocktail is called an Orange Blossom, it’s pretty mild and wonderfully delicious, not too sweet and very flavorful.  I was able to find the blood orange juice at a liquor store and it’s pretty tasty just by itself!  My husband tends to like sweeter drinks.  By adding the Chandon Brut it cuts the sweetness and tastes refreshing!  Of the two spring spritzers, this is my husband’s favorite.

Orange Blossom

Serves 1

1 ounce Honey

2 ounces fresh Blood Orange Juice

Dash of Orange Blossom Water

3 ounces Chandon Brut Classic

First, add the honey, blood orange juice, and orange blossom water in a shaker filled with ice.  Shake and strain into a decorative glass.  Next. add the Chandon Brut and serve.

To bring some fresh appeal to your next gathering I would suggest these two fresh spring spritzers, let me know which one is your favorite!


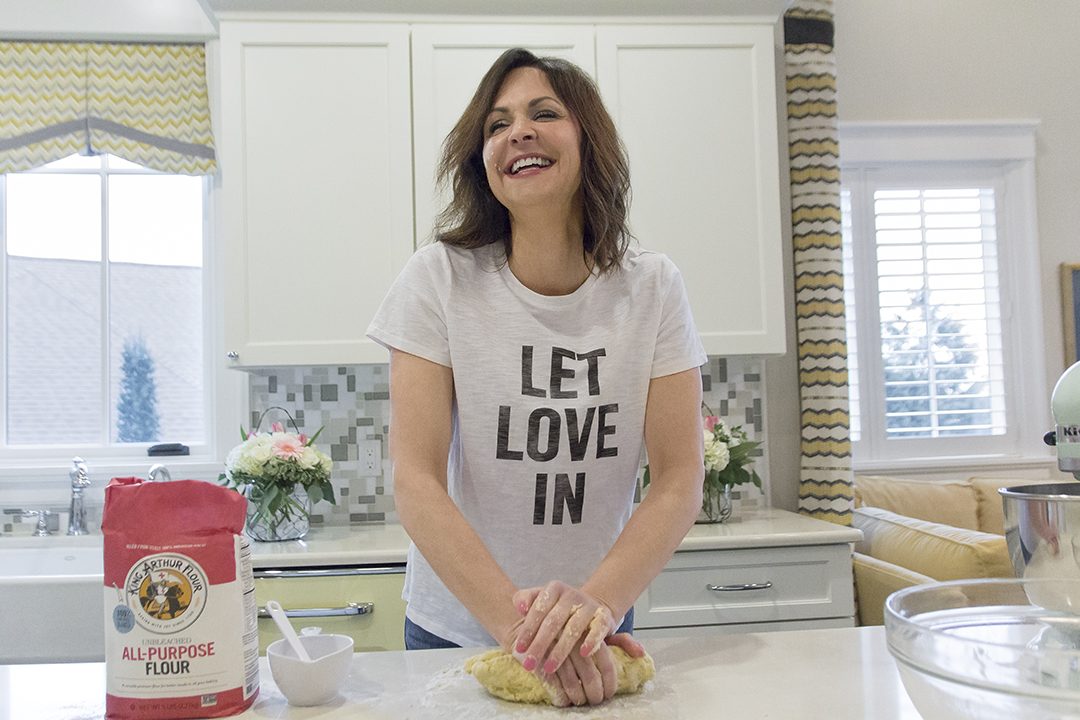
Kneading Homemade Pasta Dough
Recipes

My First Shot At Homemade Pasta

One of my personal goals this year was to continue to eat cleaner and healthier and make more of my own food.  I am always striving towards a healthier lifestyle.  Don’t get me wrong, I love my Cheetos!  Yes, I actually admitted that!    My daughter visited my nephew and his wife in December and when I went to pick her up they were making homemade pasta.  He made it look so easy and it was so fresh and delicious.  He made me roasted red pepper and it only took 3-4 minutes to cook right after it was made.  I left there thinking, I could do this, I was inspired!

I went home and bought a pasta cookbook and the pasta attachments for my KitchenAid Stand Mixer.  It was my Christmas gift to myself.  My daughter and I were looking forward to making pasta for the first time.  We made the “Three-Egg Basic Pasta Dough” recipe.  There are only 3 ingredients: eggs, flour (I like using King Arthurs) and water.

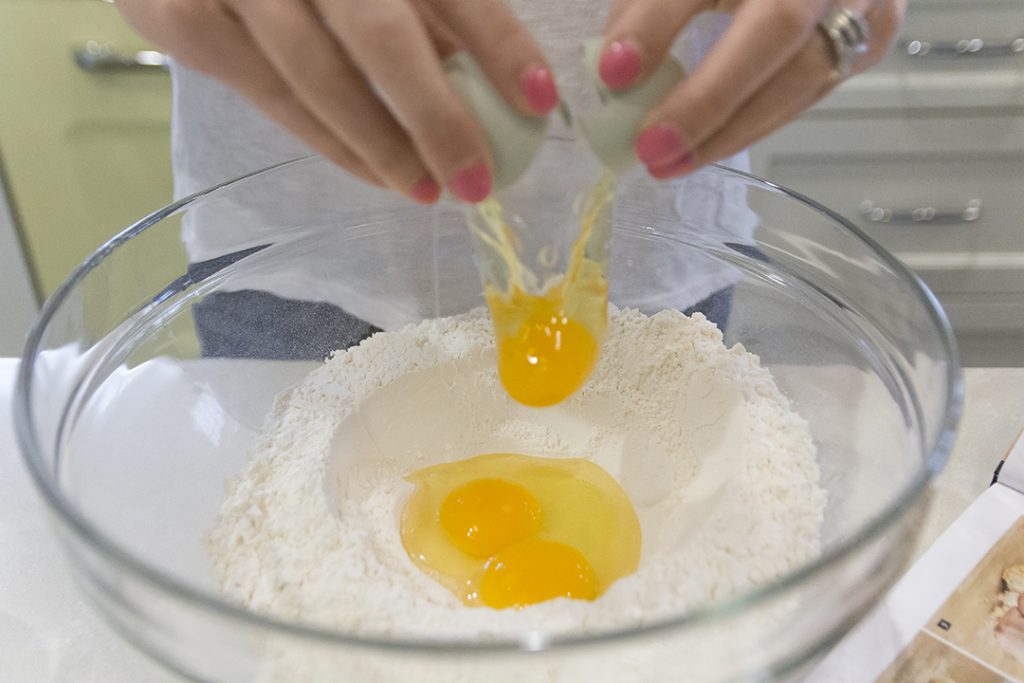
Create a “crater” in your flour and add in the eggs and water, use a fork to start incorporating the ingredients.

3 eggs in homemade pasta

Once you have the dough in a mass, transfer to a floured work surface and knead the dough for about 5 minutes until it is cohesive and moderately smooth.  Wrap your dough in plastic and let it sit for 30 minutes.

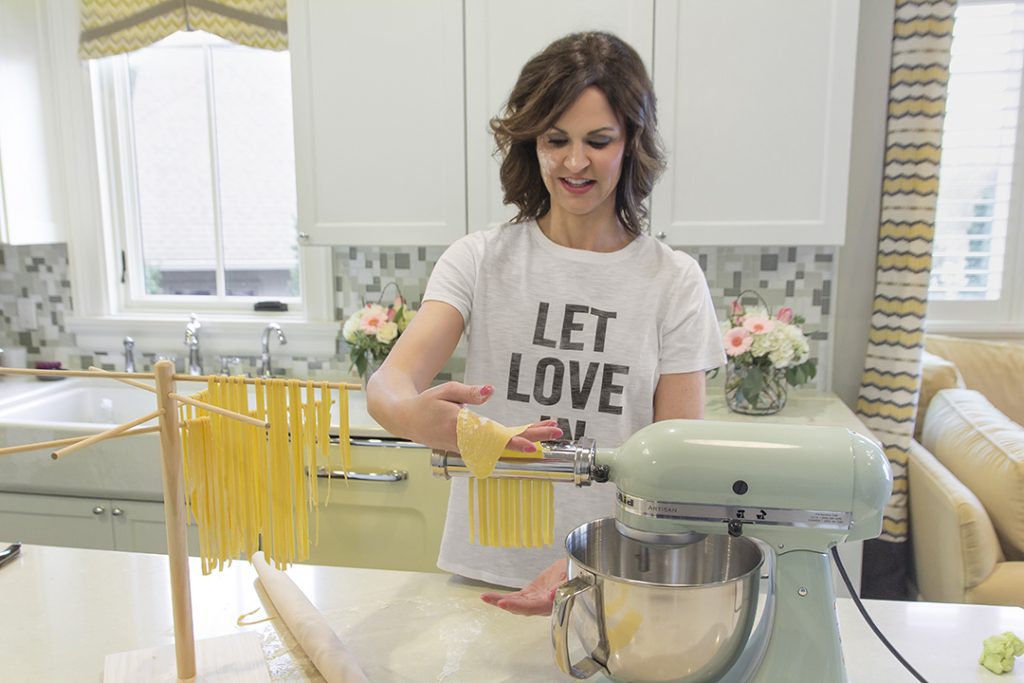
Roll it out and then take smaller pieces and run it through the pasta roller.  I usually put it on a slower speed so I have more control when handing the delicate dough.  For your next step you select your type of pasta, fettuccine or spaghetti.  I like the fettuccine because it is easier to handle with my clumsy hands and I love the bigger pieces of pasta.  Change your attachment on your mixer and let it work for you!

Homemade Fettuccine Pasta

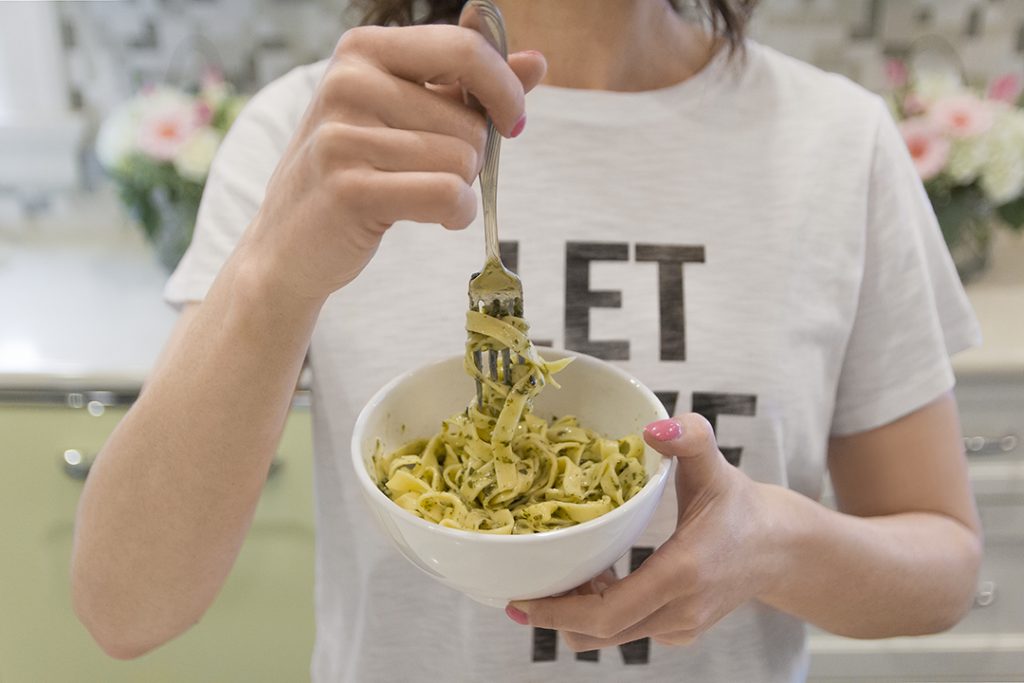
Immediately toss into boiling water for 3-4 minutes.  Do not rinse your pasta unless you plan on using it in a cold pasta salad.  Rinsing takes away the starch which allows for the pasta sauce to stick.  Drain your pasta.  Plate and enjoy with your favorite sauce!  I used a pesto sauce which is one of my favorites.

My daughter and I were very proud of ourselves.  It tasted delicious and it was very easy!  This past week we decided to try and make gluten free homemade pasta.  We used gluten free flour and it turned out pretty tasty.  I actually didn’t notice any changes in flavor it was just a little harder to handle.  I think we are going to tweak our recipe.  The gluten free flour we used had some xanthan gum and tapioca starch already in it but I think we may need to add a bit more next time.

We made quite a bit in our first batch and were able to hang it to dry.  When storing make sure to dust the pasta lightly with some flour to keep it from sticking together.  You can store in the refrigerator for up to 18 hours.  If you want to store it longer, I recommend putting it in the freezer.  It will store and be fresh for up to a month.

I hope this recipe inspires you to make your own homemade pasta.  I love cooking with my daughter and this was another one of those fun things we can do together.  Plus, I am always trying to find ways to have a cleaner diet at home and know what I am putting in my food!


Three-Egg Basic Pasta Dough

Ingredients

  • 2 cups Flour
  • 3 large Eggs room temperature
  • 1 Egg Yolk
  • 2 - 3 tablespoons Tepid Water you may need to add more

Instructions

  1. Mound the flour in the center of a large bowl to create a "crater" in the middle.

  2. Add the eggs and water to into the "crater".

  3. Using a fork, begin to incorporate the flour, be sure the egg doesn't run out.

  4. Once half the flour has been incorporated and the dough is in a mass, transfer to a floured work surface and knead the dough.

  5. Continue to knead until all of the flour is absorbed (about 5 minutes). The dough should be cohesive and moderately smooth.  Form the dough into a round ball.

  6. Wrap the dough in plastic and let it rest for 30 minutes at room temperature.

  7. Remove from plastic and roll out dough with a rolling pin to make it thin enough to go through the roller attachment.

  8. Run dough through the roller attachment.

  9. Change out your attachment and run dough through to cut to desired pasta size.

  10. Immediately toss into boiling water for 3 - 4 minutes. 

  11. Drain pasta.

  12. Plate and enjoy with your favorite sauce. 


Valentine's Day Cocktail
Recipes

Valentine’s Day Cocktail

Even though romance is in the air, sometimes it can be a little difficult to find time for you and your loved one.  I know some years my husband and I were so busy we weren’t able to celebrate Valentine’s Day properly.  It can sometimes be a lot of pressure on what one should or should not expect. If you don’t have extra time on your hands I suggest a romantic toast to each other with this delicious Valentine’s Day Cocktail.  It’s something you can make at home, sit by a fire and have some quiet conversation (after the house quiets down for the night)!  This recipe is simple and yummy!

For an elegant addition to this cocktail, find out how easy it is to make White Chocolate Dipped Cherries.

Hope you enjoy and cheers to love!

Valentine's Day Cocktail

Ingredients

  • 1 ounce Cinnamon Schnapps
  • 1 ounce Vodka
  • 1 splash Grenadine

Instructions

  1. Add a small handful of red hot candies before serving.


White Chocolate Dipped Cherries
Recipes

White Chocolate Dipped Cherries

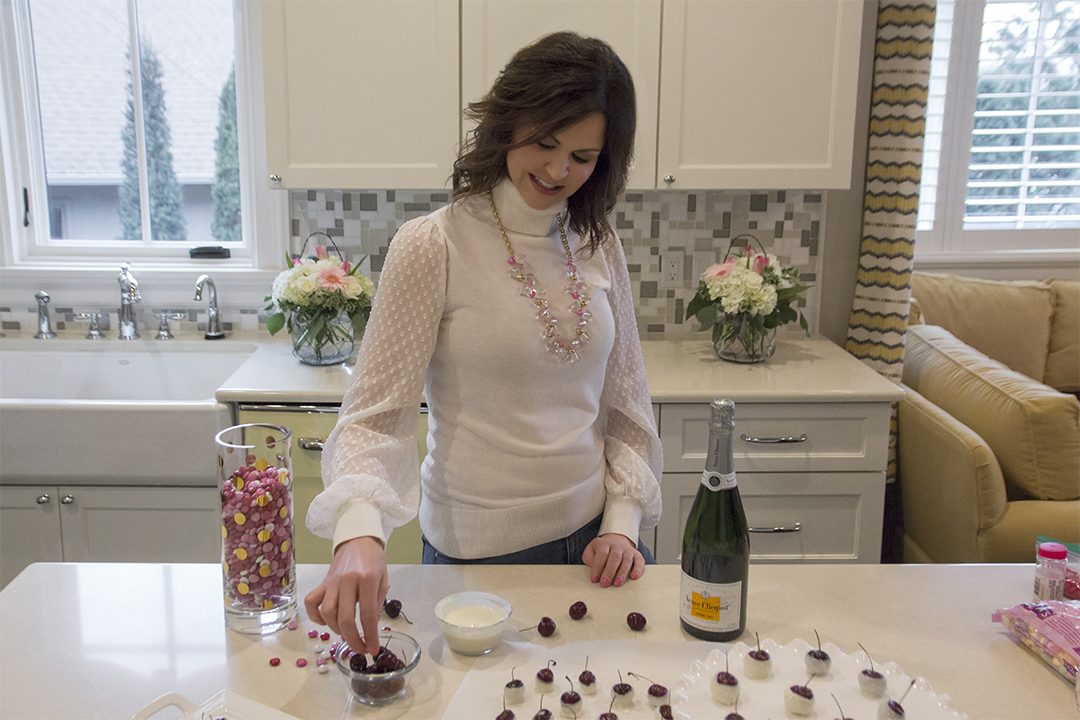
Valentine’s Day is fast approaching and I usually make sugar cookies for my family.  This year I wanted to try something new.  I came across these white-chocolate covered cherries and had to give it a try. It was tricky finding cherries this time of year but I prevailed.

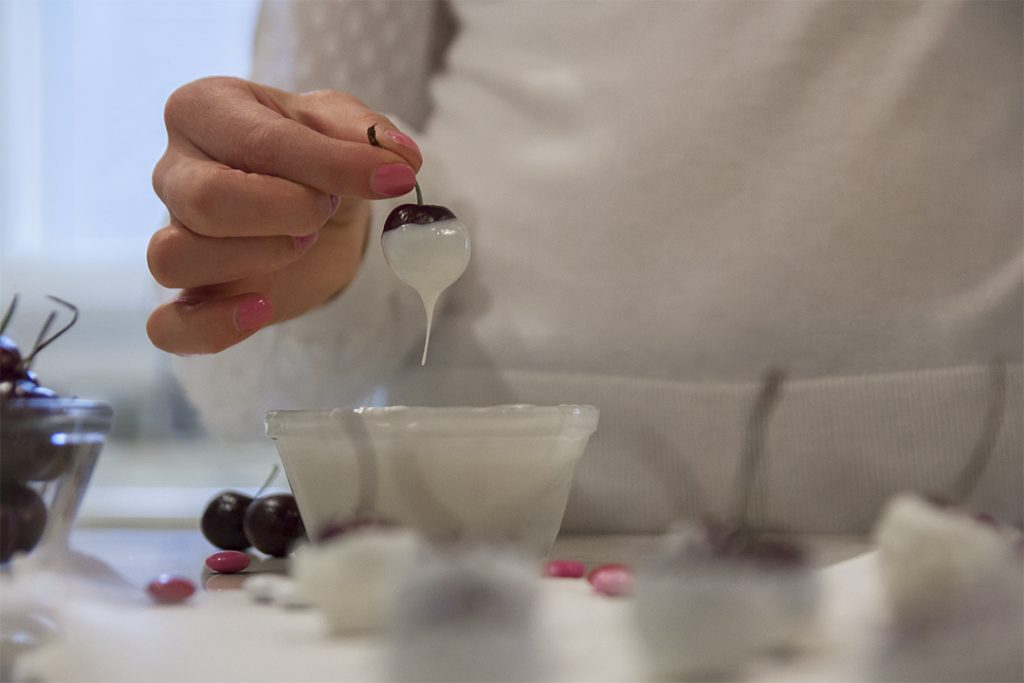
This recipe is super simple and doesn’t take a lot of time.  It is elegant looking and they taste really good!  For starters, I dipped them in the microwavable Ghirardelli White Chocolate melting wafers.

Dipping White Chocolate Cherries


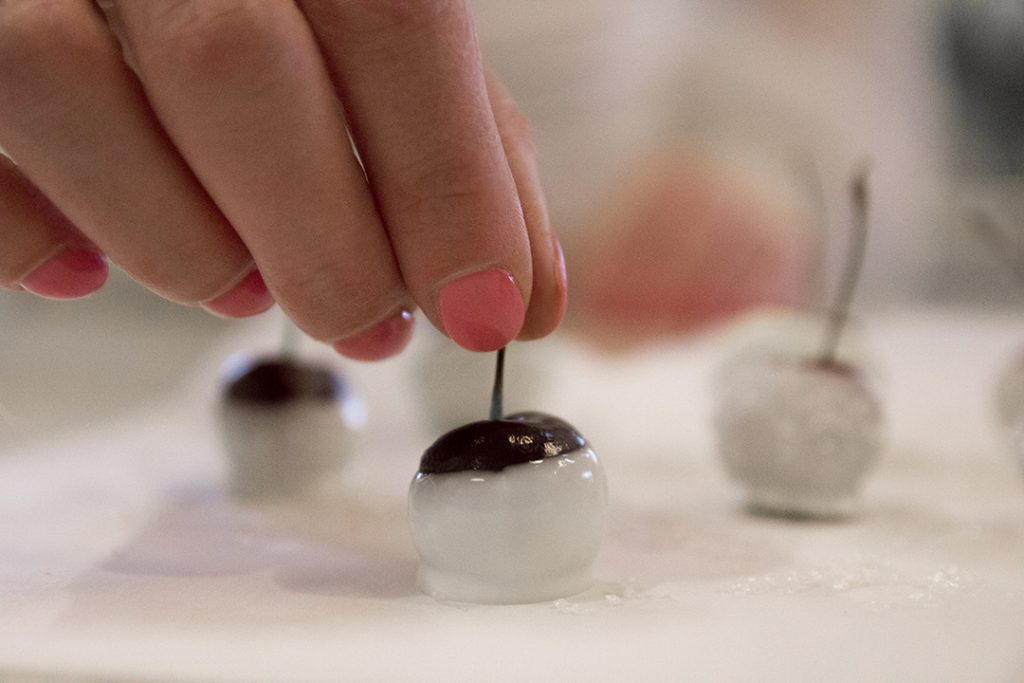
Immediately after covering them in chocolate I sprinkled some edible crystals.   You can get creative and use edible pearls, red sprinkles or confetti.  Make sure to pop them in the refrigerator when done assembling.  They will stay fresher and taste way better.

Setting White Chocolate Cherries


On Valentine’s Day, I plan on toasting with my favorite champagne, Veuve, and my favorite Valentine, my hubby!  Enjoy!  xoxo

White Chocolate Cherries

Garlic Shrimp and Zoodles
Recipes

Garlic Shrimp with Zoodles

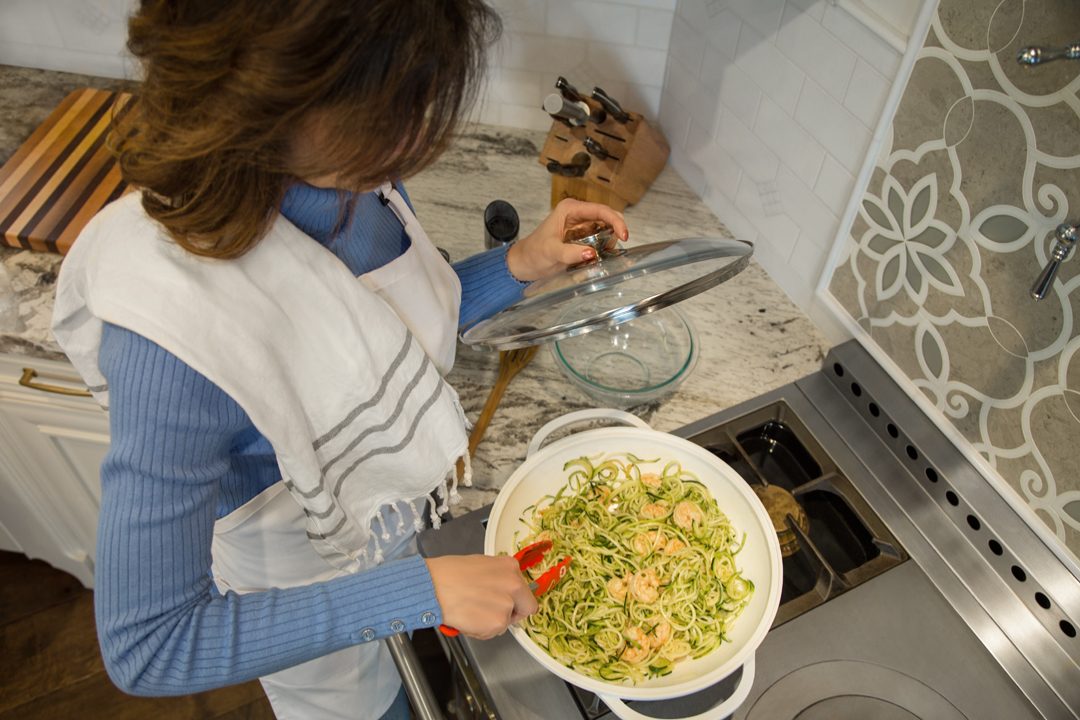
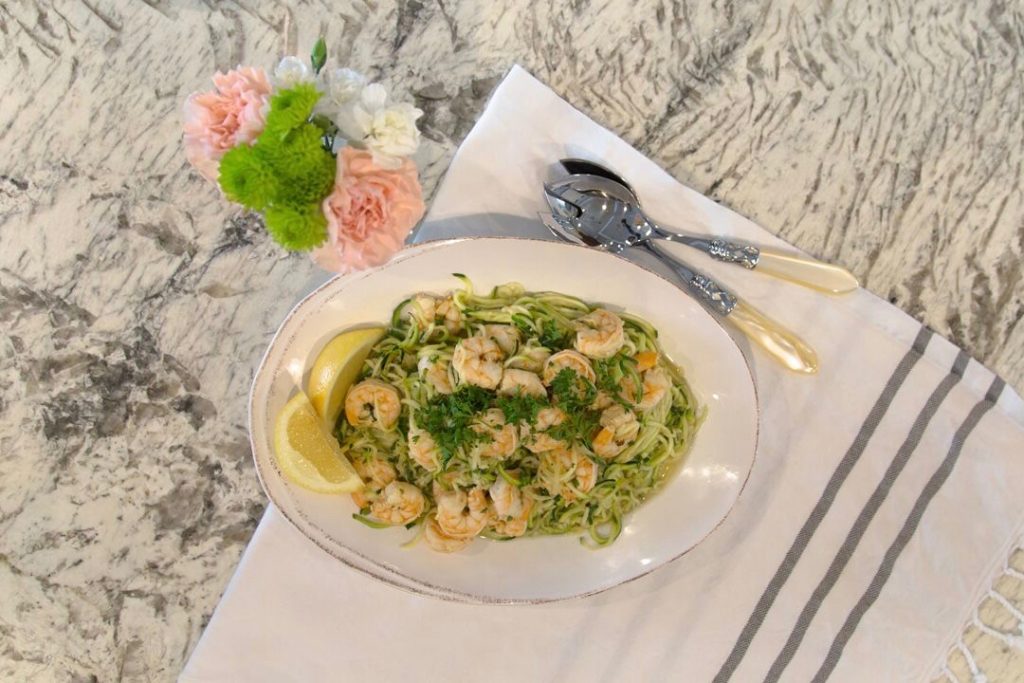
Is anyone else watching what they eat because they over indulged during the holidays?  I’m in that boat right now!  I love this Garlic Shrimp with Zoodles recipe because it is healthy and low in calories.  This recipe is full of nutritious ingredients and packed with taste.  Zoodles (zucchini noodles) take on whatever flavors you add to them.  I love spice and in this recipe, there are chili flakes which is one of my favorites!

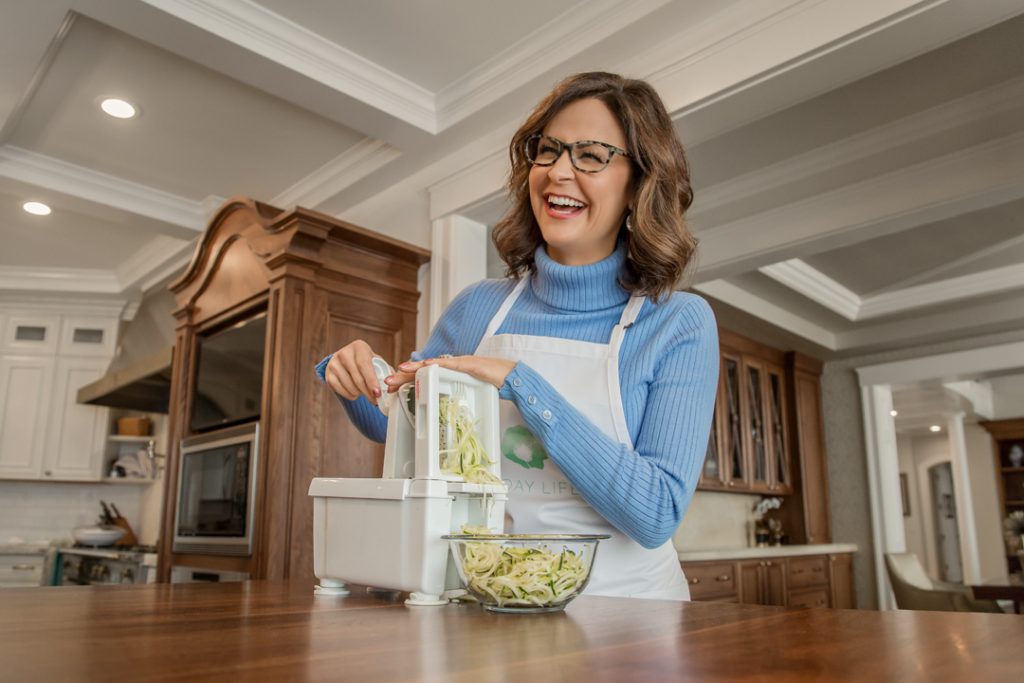
Spiralized Zucchini

If you don’t have a spiralizer highly recommend it.  They are reasonably priced and I have had mine for several years.  I may not use it every week but it’s great to have for recipes such as this. Let me know if you and your family try this recipe and what you think!

Zoodles and Garlic Shrimp

Garlic Shrimp with Zoodles

Ingredients

  • 6 zucchini washed
  • 1 pound shrimp, peeled and deveined
  • 4 cloves garlic, minced
  • 1 teaspoon paprika
  • 3/4 teaspoon chili flakes
  • 1 lemon, squeezed
  • 2 tablespoons olive oil
  • 1/2 teaspoon salt
  • 1/4 teaspoon pepper
  • 2 tablespoons fresh parsley, finely chopped

Instructions

  1. Using a spiral slicer, cut the zucchini into noodles and place them into a colander over a bowl or in the sink.

  2. Sprinkle the zucchini with salt and toss to combine. Let the zucchini sit for 15 minutes while the salt extracts the moisture.

  3. Meanwhile, combine garlic, paprika, chili flakes, lemon juice, and shrimp in a bowl and mix well.

  4. Heat the olive oil in a large skillet over medium heat. When the pan is hot, add the shrimp and season with salt and pepper. Sauté until the shrimp change color.

  5. Rinse the zucchini under running water to remove the salt and dry on paper towels.

  6. Add the zucchini noodles and parsley to the skillet, stir for 3-5 minutes until tender.  I like to add even some additional garlic powder.   Toss to coat and serve.